Make a Flower Painting So Captivating, People Can't Resist Asking How You Made It
(Even if you've never sculpted texture before)
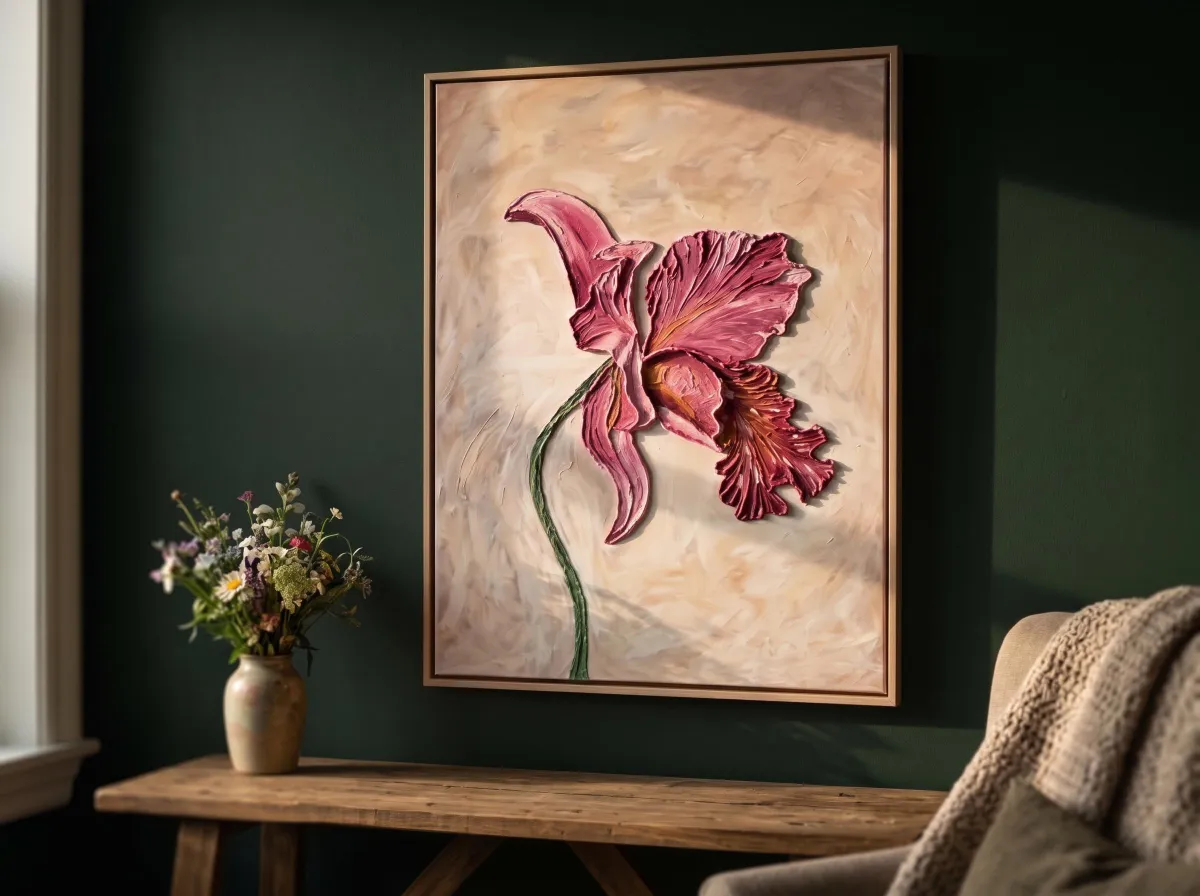
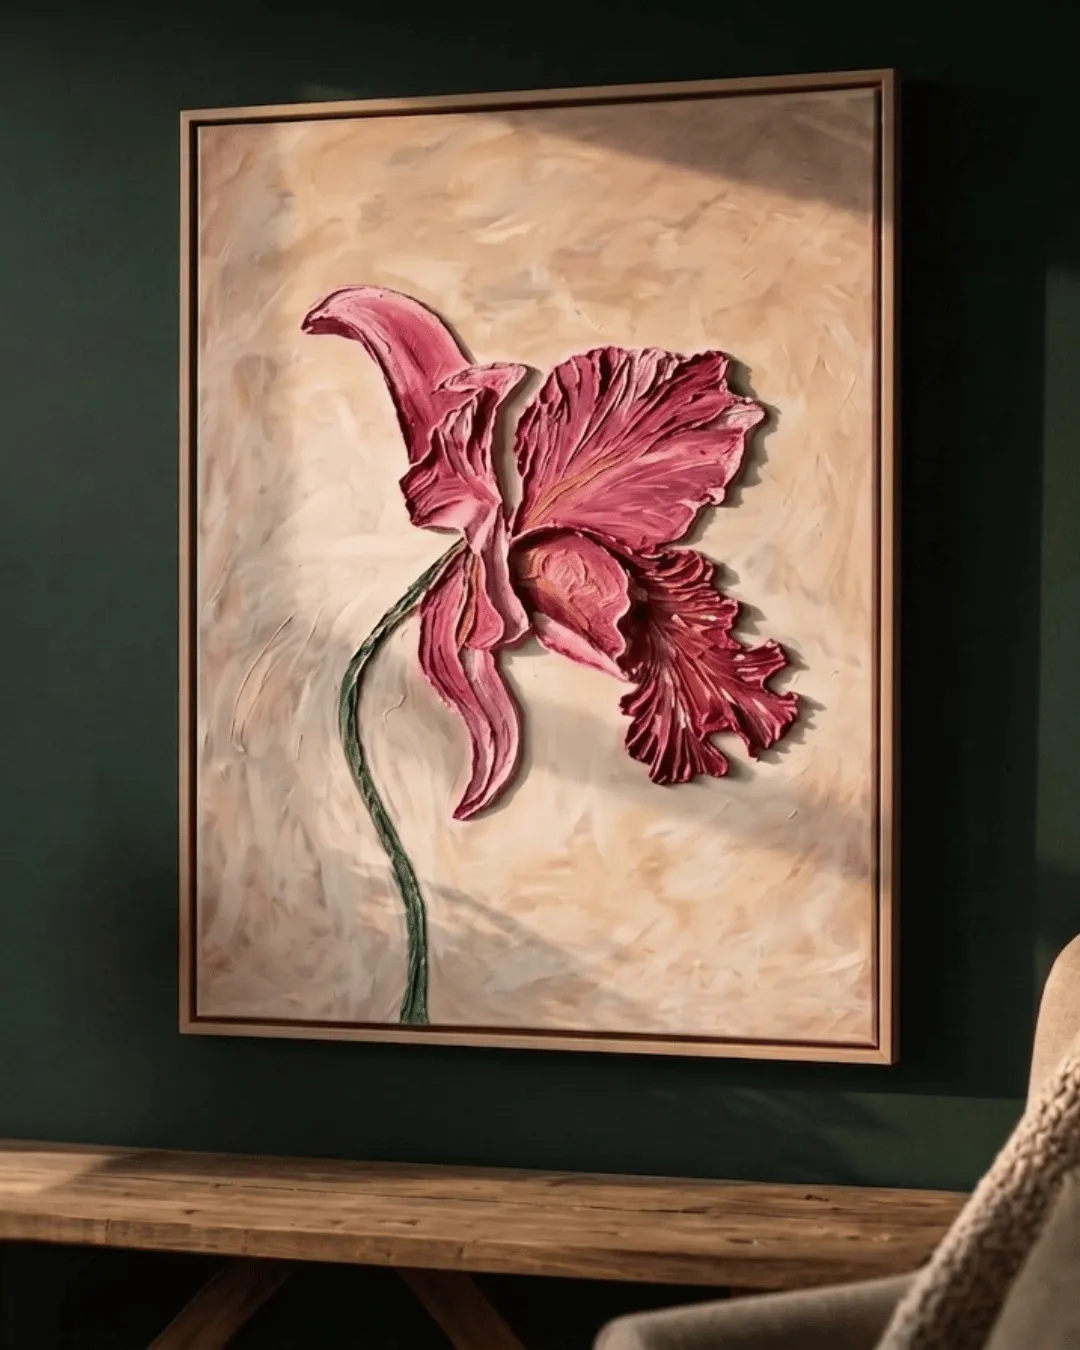
(Follow along step by step and bring your favorite flower to life in rich, textured layers – at your own pace, in your own home)
Now imagine...
Sinking into the quiet rhythm of shaping petals, losing track of time, and remembering what a creative process feels like
Running your fingers across the canvas and feeling the textures you just made with your own hands
Watching someone stand in front of your painting a little too long, then finally ask the question you've been waiting for: "Wait – how did you make this?"
And here's the part most people don't expect: none of this requires steady hands, artistic training, or years of practice. Just a willingness to pick up a knife and start shaping.
Why Most People Never Give This Art Form a Chance
(and why that hesitation is completely misplaced)
When people come across a painting like this, their first assumption is always the same: it must have taken years of formal training to make.
What they don't realize is that every single petal is built by hand, one at a time, using nothing more than a palette knife, paint, and a material called texture paste.
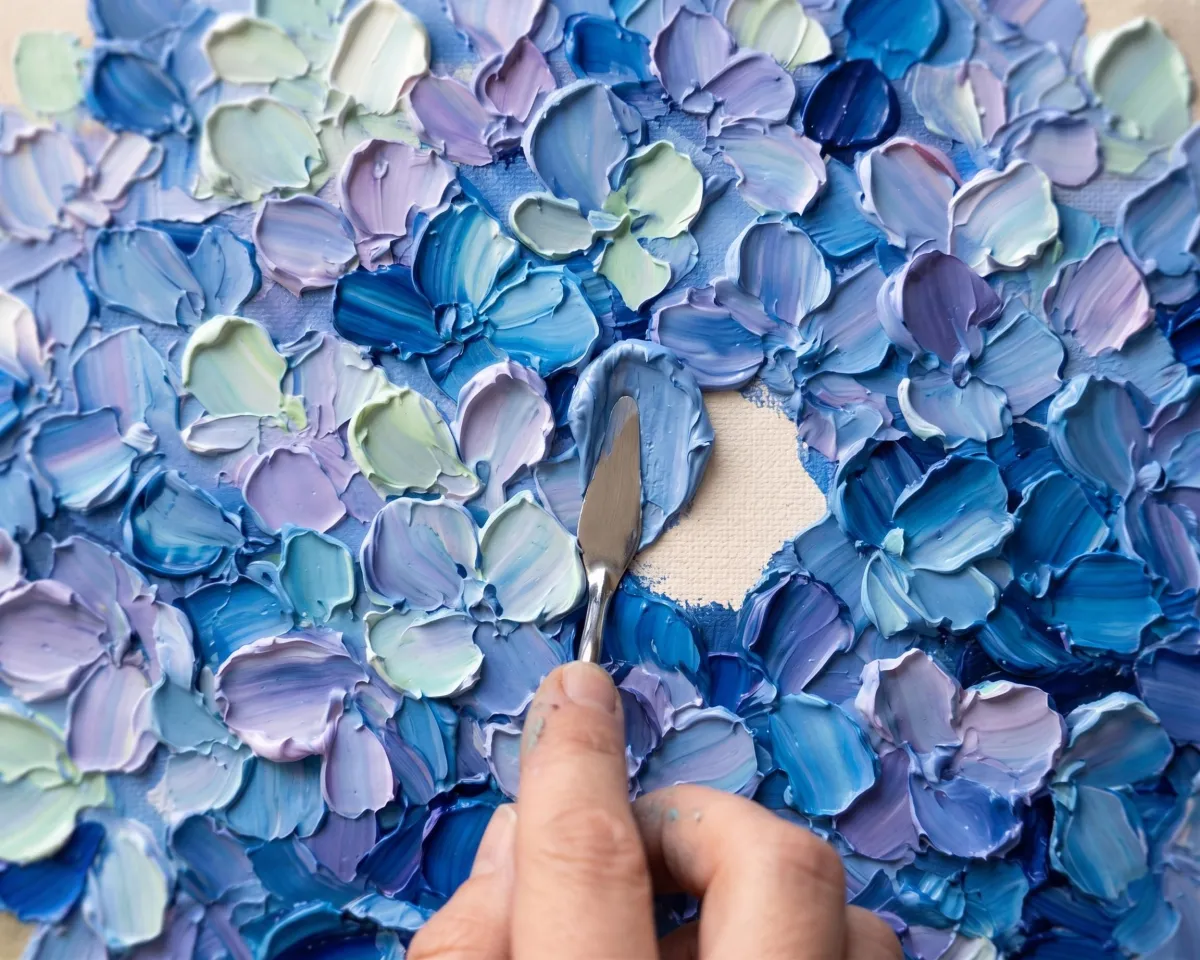
There's no drawing skill required. No painting background. No natural talent.
Just a repeatable process, taught step by step.
But because most people don't know that, they rule themselves out before they even consider trying.
They see it online and scroll past. They see it in a gallery and assume it's out of reach.
They think "that's not something I could ever make" – and move on with their day.
Here's what they're missing: this happens to be one of the most forgiving art forms there is. The texture paste does the heavy lifting.
Your hands simply shape it into place.
Which means the final result looks far more advanced than the effort it actually took to create it.
Most people never discover any of this – not because they lack the ability, but because they never gave themselves the chance to try.
I came close to being one of them, but because you are reading this, you already know I gave this thing a shot.
Flower Variations You Can Make
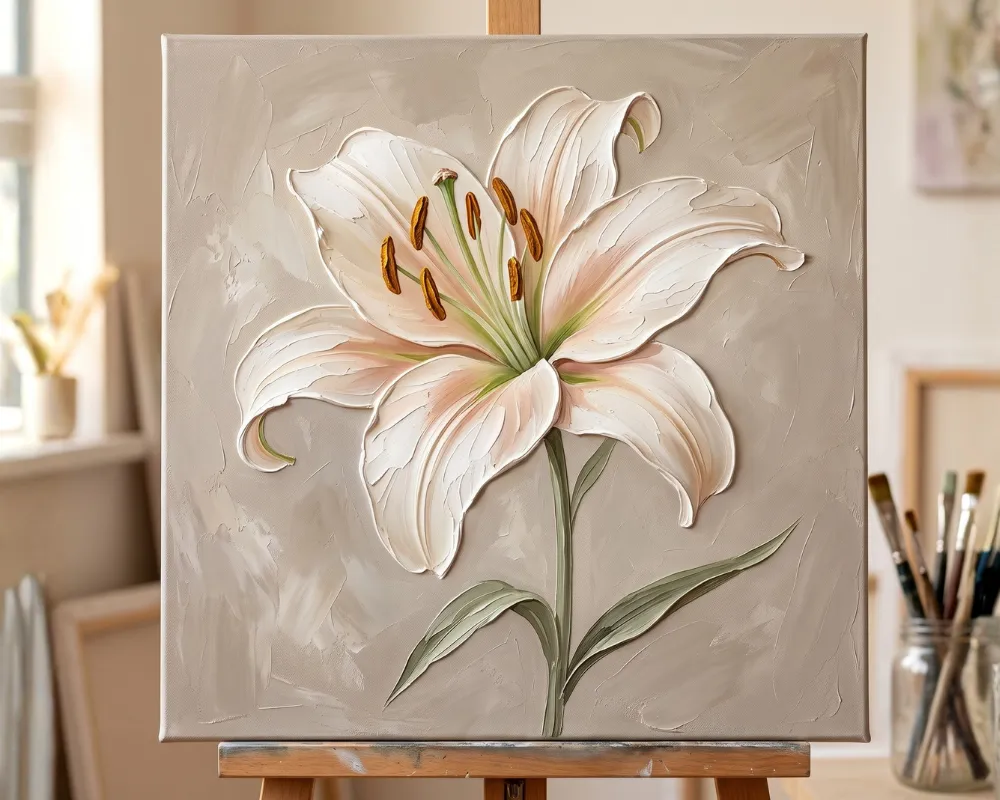
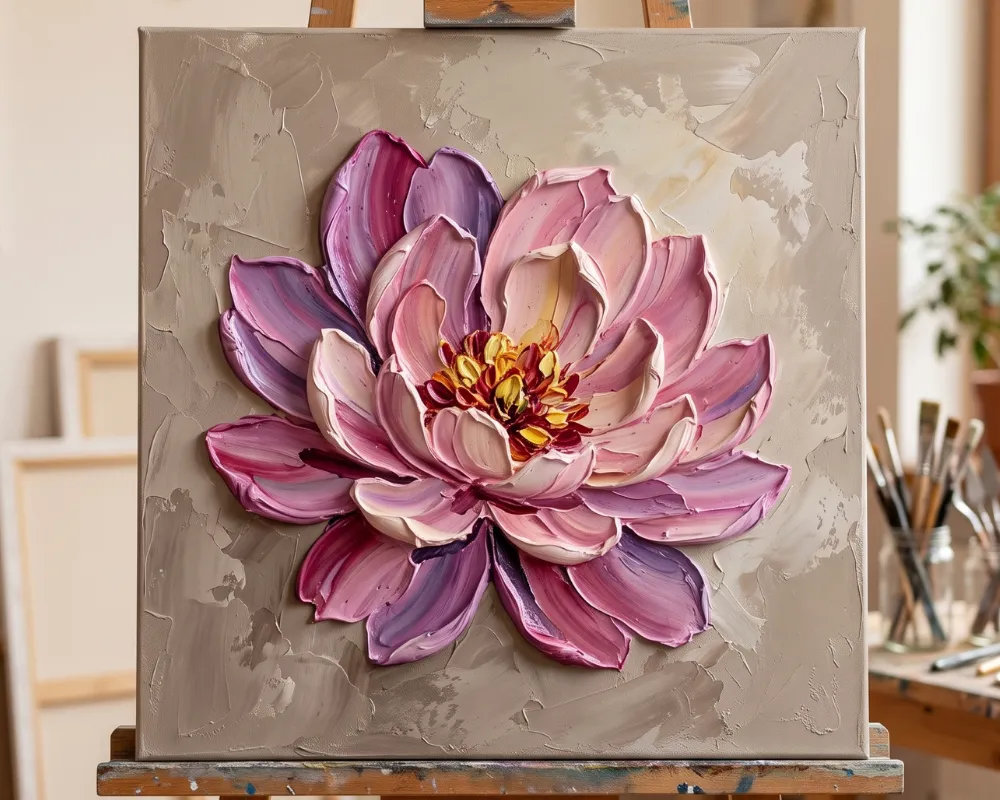
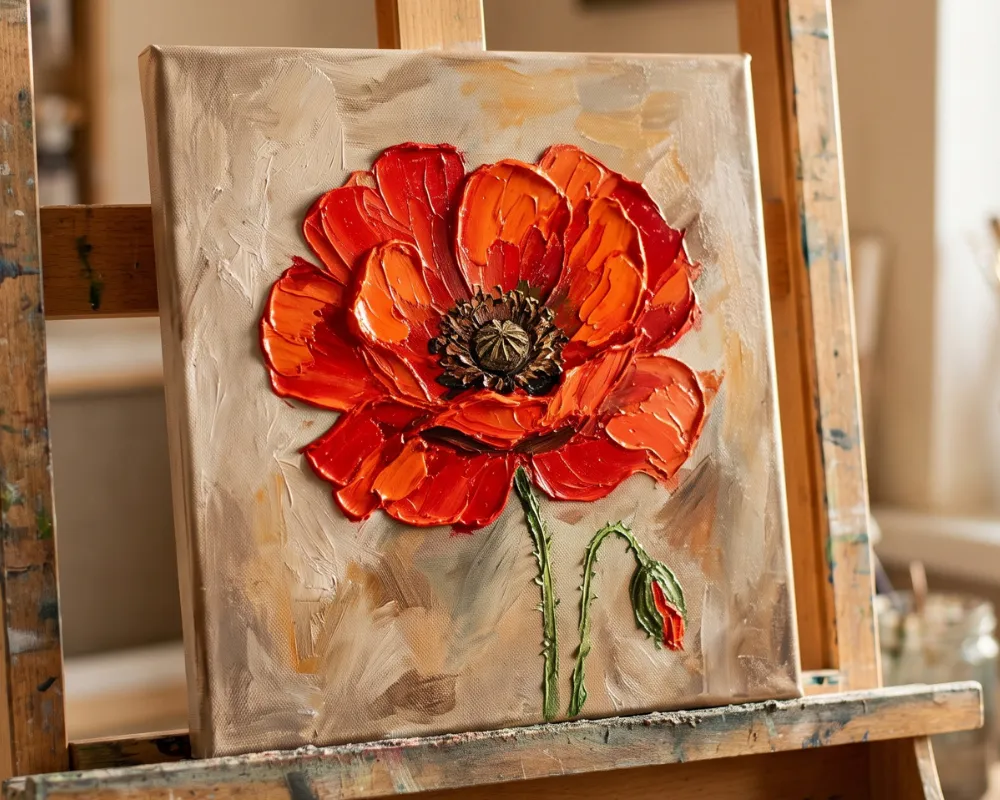
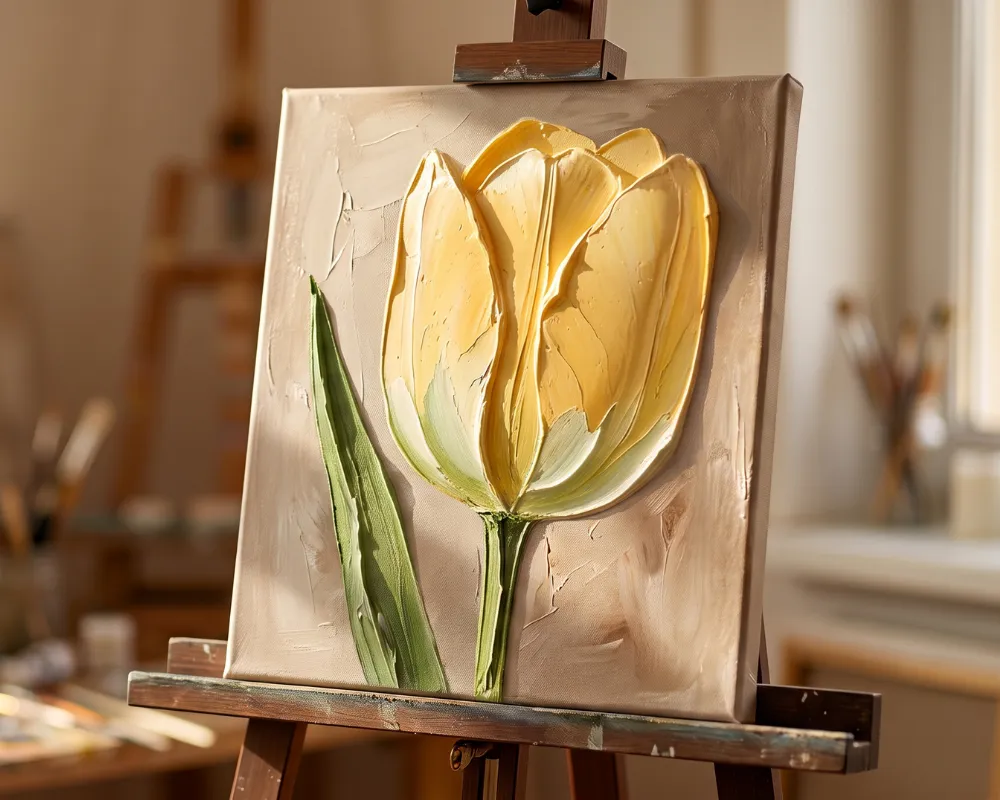
This workshop comes with a collection of 15 templates and reference images – same technique, different designs – so once you've made your first painting, you can keep creating new ones.
Let Me Introduce Myself

My name is Michael, and for most of my life, art was never a priority.
I spent my career behind a camera — filming, editing, producing other people's stories. I liked the work, but something always felt a bit off.
I wanted to make something with my own two hands. Something physical.
Then I stumbled across a photo of a painting online – thick, dimensional, almost sculptural – and I couldn't stop staring at it. I had no idea how something like that was even made.
So I started experimenting. Texture paste, a simple palette knife, and a lot of trial and error later, I finally cracked it.
And once I did, I couldn't stop.
There was something almost meditative about the process — the repetition, the focus, the way a flat canvas slowly became something you could reach out and feel.
And when I stepped back from my first finished piece, I felt something I hadn't felt in a long time: genuine pride in something I'd made with my own hands.
I kept going. I kept experimenting with new shapes, new subjects, new techniques. And at some point, I decided this deserved to be more than just something I did in my spare time — so I took the leap and put together my first course.
Since then, well over 1,000 students have gone through a Wait What Art workshop. Some had painting experience. Most had none at all. But every single one of them started in the exact same place: not sure they could actually pull this off. (This is the most satisfying part for me, seeing people realize they can do this)
Flowers were always on my list of subjects to try. There's something about a single, oversized bloom – every petal textured, every colour layered by hand – that stops people in their tracks in a way few other subjects do.
I think once you've made your first one, you'll understand exactly why.
Let me introduce:
The Big Beautiful Textured Flowers Workshop
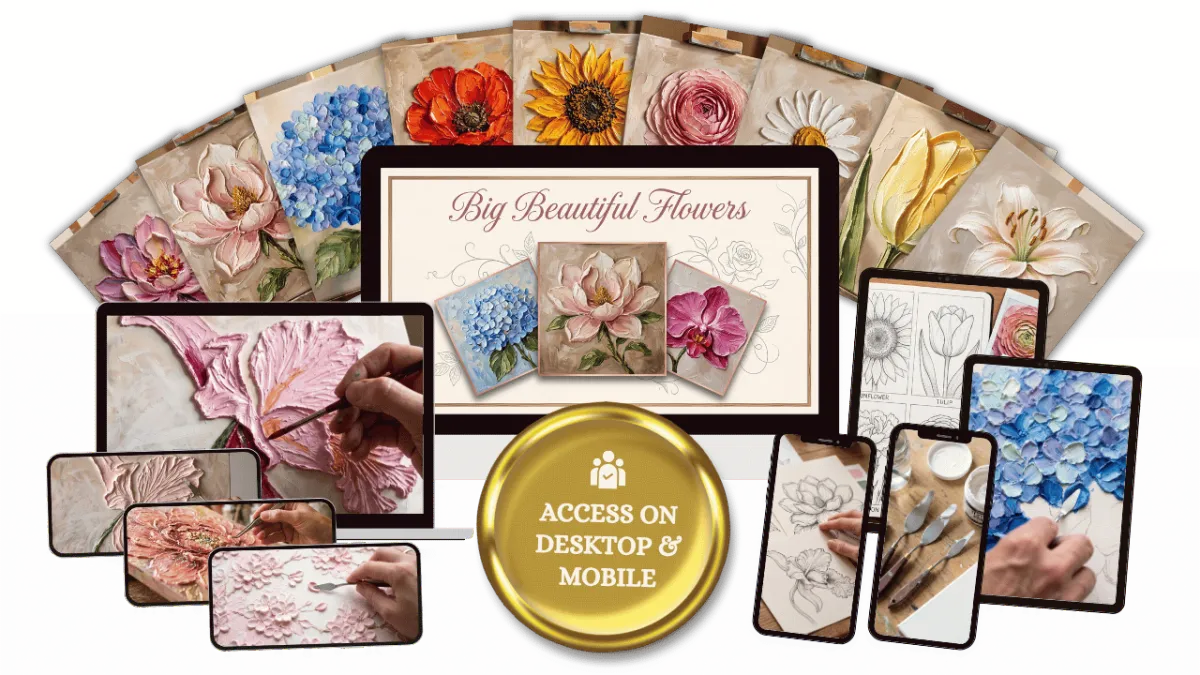
A guided, step-by-step workshop that walks you from a bare canvas to a finished, dimensional flower painting – built layer by layer, texture by texture, until it looks nothing like where you started.
You'll learn three completely different flower techniques along the way – Hydrangea, Magnolia, and Orchid – so you walk away with a real toolkit, not just a single skill. Whether you turn all three into finished paintings or focus on the one that speaks to you most is entirely up to you.
Here's what's inside:
Module 1
Pick Your Flower and Make It Yours
Before you pick up a single tool, this module is about deciding what you're actually going to create.
You'll look through the full template collection, choose which flower and composition feels right to you, and settle on a colour palette that suits your home.
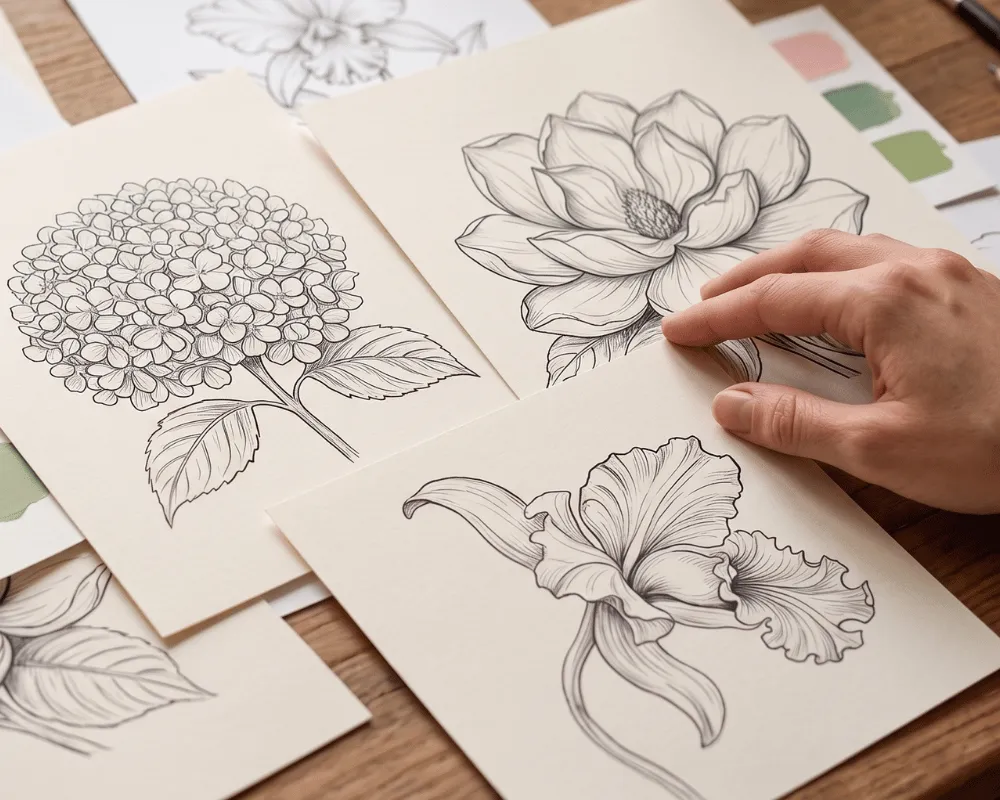
Browse the full collection of flower templates and reference designs, and choose the one that feels most "you"
Learn how canvas size and composition change the entire mood of the finished piece – so you can pick the setup that fits the wall you have in mind
See how a single colour choice can take the exact same flower from soft and romantic to bold and striking
Learn the simple trick for transferring your chosen design onto the canvas accurately – no technical drawing required
Module 2
Tools, Materials & Foundational Techniques
Before you touch the canvas, this module gets you set up and confident.
You'll see that the tools involved are simpler than expected, everything is easy to source, and the core hand-motions feel natural almost immediately.
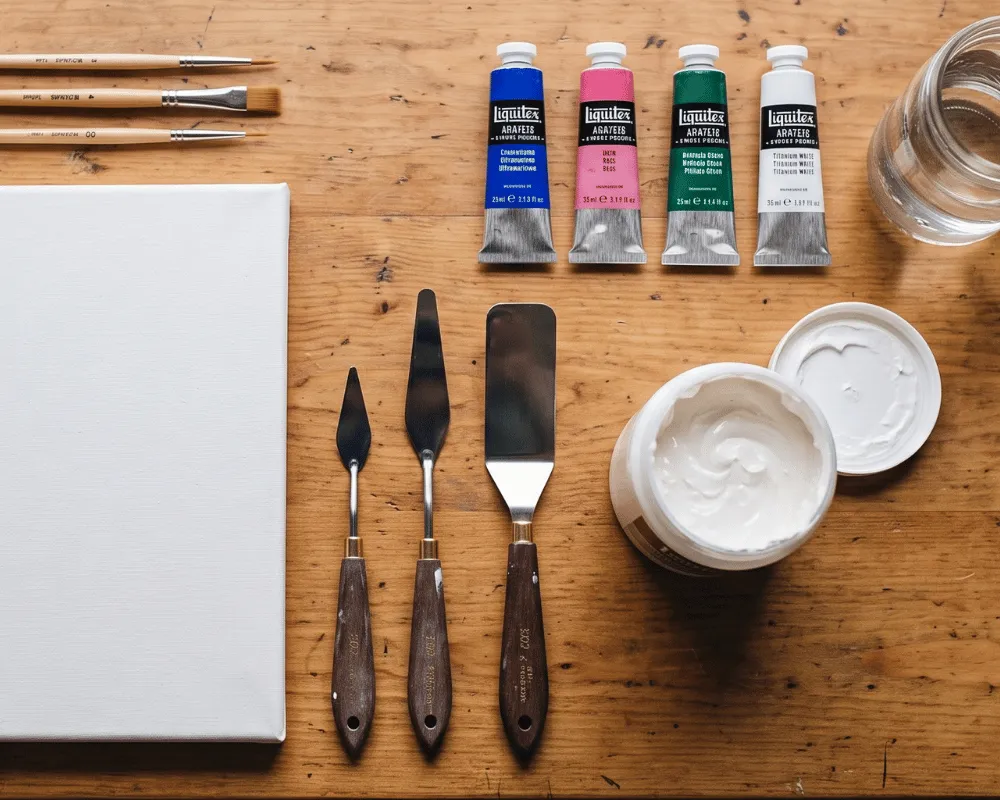
Get a straightforward materials checklist you can take shopping – so there's no second-guessing what to buy or scrambling mid-session
Understand what each palette knife is actually for, and how holding it differently changes the kind of mark it leaves
Practice shaping texture paste into a few basic forms – the same base skill that becomes petals, stems, and background texture later on
Learn the real difference between colouring the paste itself versus painting over it once dry – a small decision that changes your entire finished look
Module 3
Backgrounds and Flower Outlines
This is where your canvas goes from bare to ready. You'll prepare the textured background and transfer your chosen flower outline – and because this stage works exactly the same no matter which flower you're painting, you'll be set up the same way each time you start a new canvas.
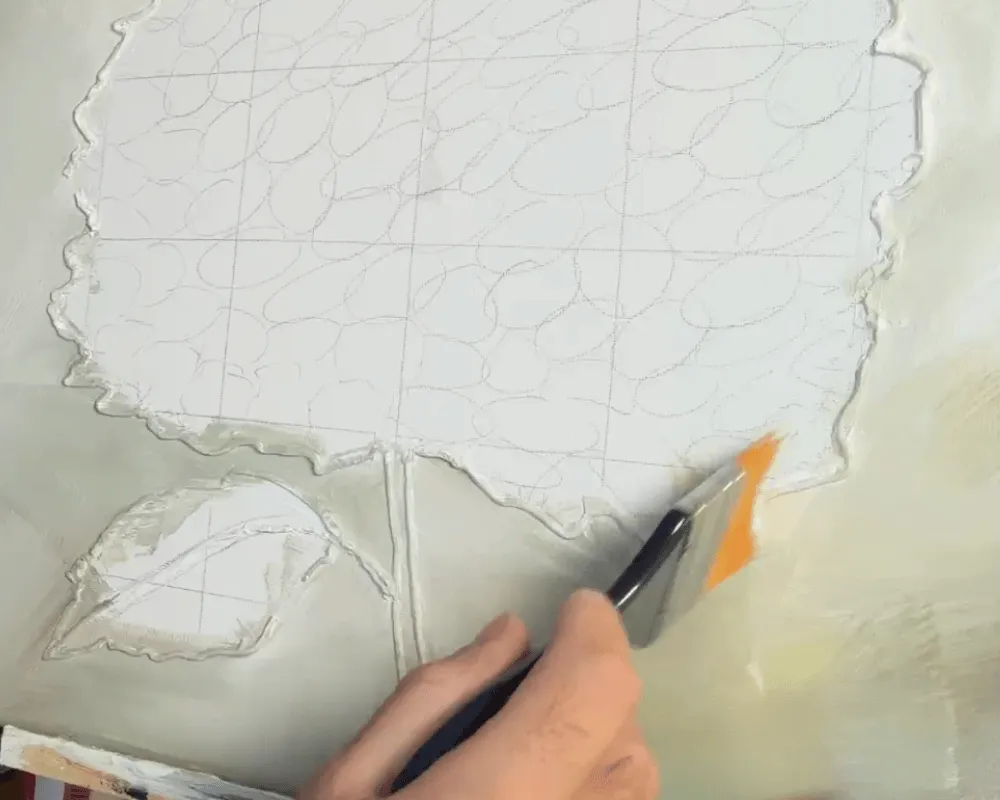
Learn how to build a soft, textured background on each canvas – enough life and depth to feel intentional, without competing with the flower that goes on top
Use the simple transfer technique to get each flower outline onto its canvas accurately, with no drawing skill required
Discover how to protect your outline while you work around it, so it stays clean and visible through every later stage
Get comfortable with this stage once, and it becomes second nature every time you sit down to start your next canvas
Module 4
Stalks and Leaves
With your outline in place, this module builds the supporting structure – the stalk and leaves that ground your flower and give it somewhere to sit.
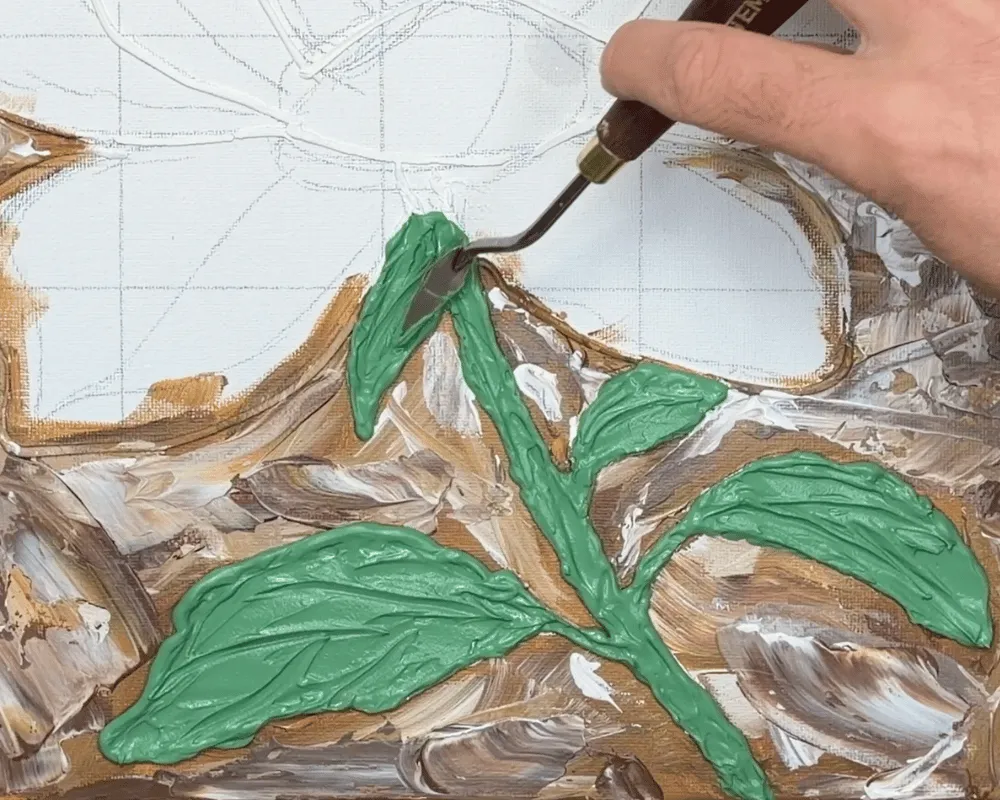
Learn the technique for shaping a textured stalk that holds visual weight without overpowering the flower above it
Discover how leaf shape and placement changes depending on the flower – and why what works for the Hydrangea won't work for the Orchid
Find out how layering shades of green creates depth in something as simple as a single leaf
Reach a natural checkpoint – structure and support fully built, ready for the flower itself
Module 5
The Textured Flowers
This is the heart of the workshop. Whichever flower you're working on, this is where you actually build it in raised texture – all three flower techniques are taught here.
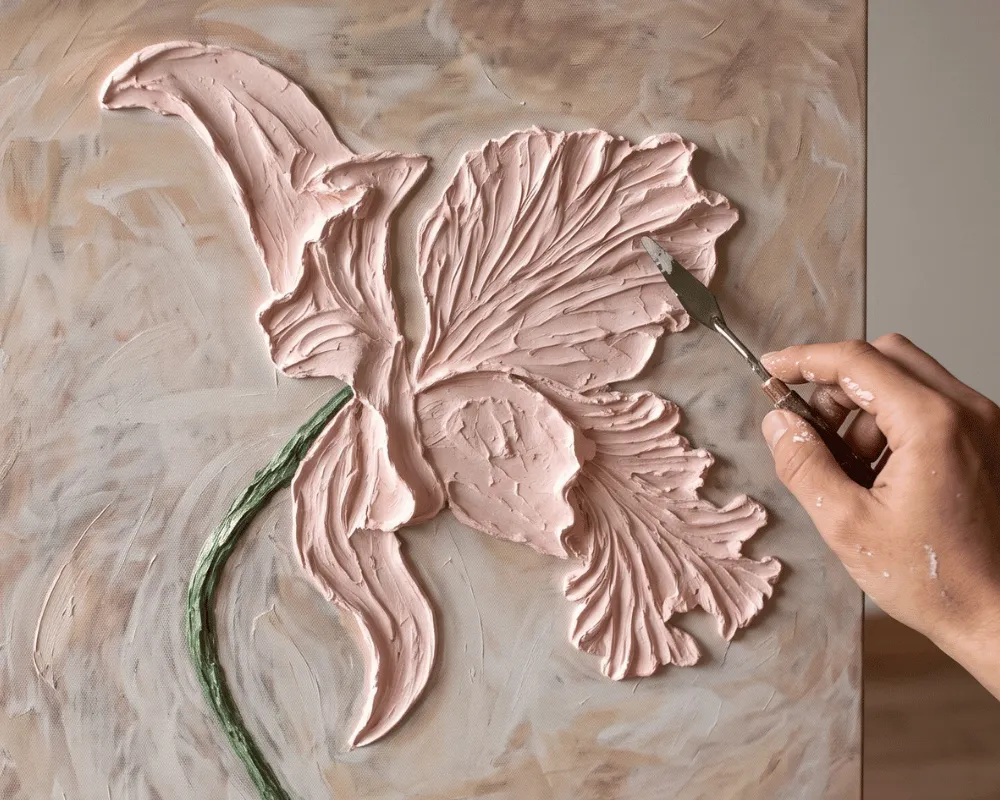
Master the Hydrangea's petal-packing technique – small, clustered petals that build into one dramatic, full flower head
Learn the Magnolia's bold, sweeping strokes – fewer, larger petals that create instant drama with far less repetition
Take on the Orchid's more advanced technique – long, curved petals and a delicate, ruffled centre that brings the whole composition to life
Finish this stage with your flower fully shaped in texture – dimensional, alive, and instantly recognisable, even before a drop of colour goes on
Module 6
Painting The Flowers
This is where each flower gets its own dedicated colour treatment. Because the Hydrangea, Magnolia, and Orchid are built so differently, you'll come back to this module once per flower, using the approach that matches whichever one you're working on.
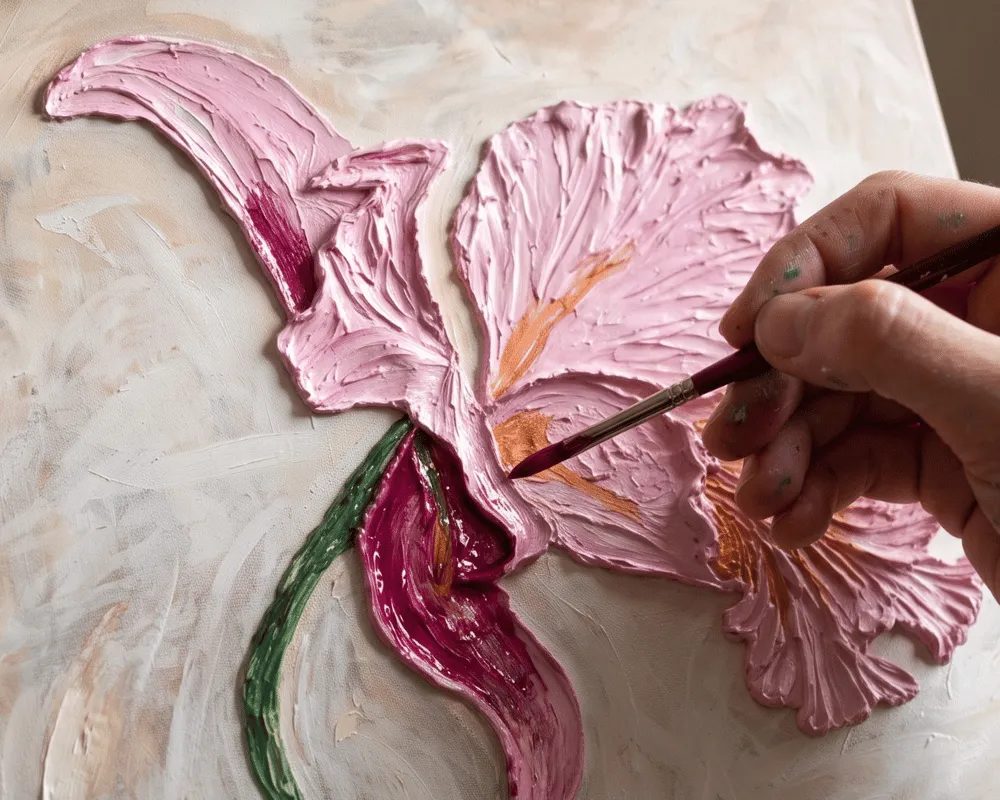
Discover how adding colour to dried texture creates a completely different effect to anything you've tried before – and why this step feels like each painting is suddenly waking up
Learn why most people rush this step – and the simple pacing trick that keeps your colour looking intentional instead of muddy
Find out why the Hydrangea's colour goes on in a completely different order than the Magnolia's – and how that one decision changes the entire feel of the piece
Discover the one blending trick that gives the Orchid's centre its soft, almost glowing depth – the detail most people notice first without knowing why
Module 7
Refinements & Finishing
With your flower painted, this module is about the finer points – the small adjustments that separate a good painting from one that stops people in their tracks.
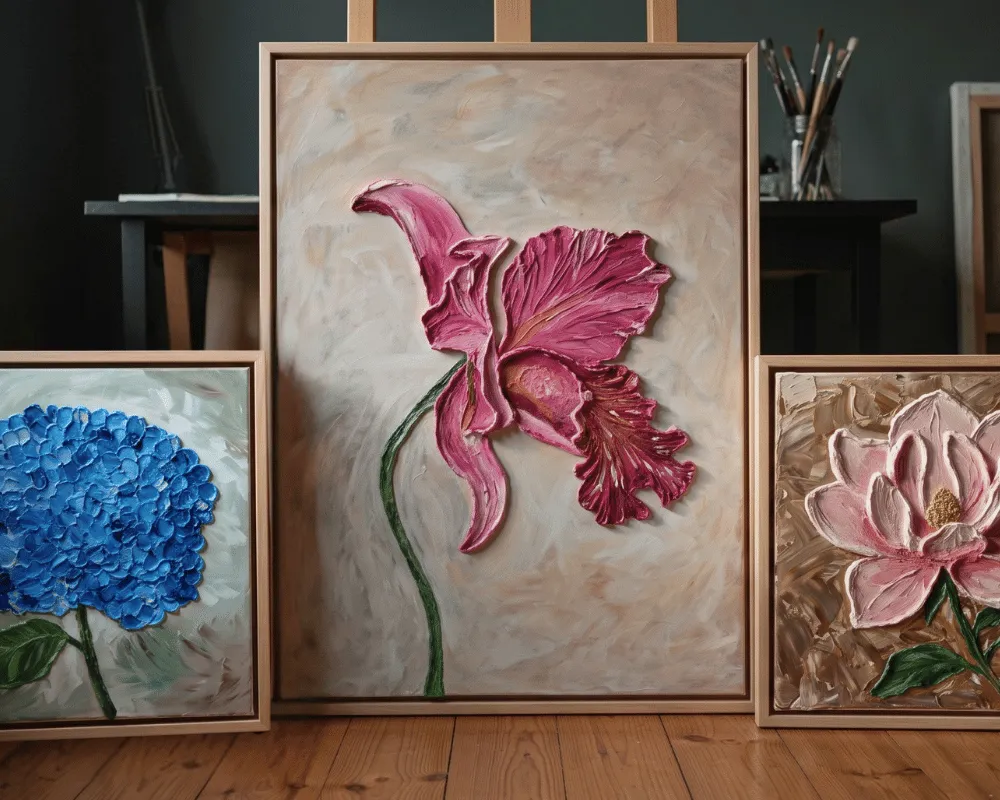
Apply the "fresh eyes" technique to each piece – a simple way to step back and see exactly what still needs attention
Discover the common finishing touches that take a painting from "done" to genuinely complete
Find out why the very last thing you add is often the smallest – and why skipping it is the difference between good and unforgettable
Learn how to know, with real confidence, that a piece is actually finished – so you stop touching it before you overwork it
By the end of this workshop, you'll have learned all three flower techniques – and as many finished textured flower paintings as you choose to make, each one ready to proudly display.
The Workshop: $129
This is the first time The Big Beautiful Flowers Workshop has ever been open to students.
And like every Wait What Art workshop before it, I'm opening it at a special founding price – available only to the students willing to be part of something brand new, right from the start.
Here's why that matters to me: when you join this early, you're not just a student. Your experience shapes how this workshop grows. Your feedback, your finished paintings, your questions – all of it helps me make this better for everyone who joins after you.
Which means I want to give you my full attention while you're going through it.
That's exactly why I'm capping this first opening at 100 students – the number I can genuinely support one-on-one for this round, without anyone feeling like just another name on a list.
Right now, that means I can offer the workshop for $47 – a price that reflects the personal support I can still give every single student. Once this first group fills up, the price goes up.
If you're reading this, there's a good chance the $47 price and one of those 100 spots are still available. Click below to find out.
Yes – I'm Ready to Make Big Beautiful Textured Flowers
– Total Value: $129 –
Currently Only $47
One-time purchase. Lifetime access.
*If the next page shows a different price, the $47 offer has closed.
30-day money-back guarantee


My 30-Day Money-Back Guarantee
Here's the truth – over 1000 students have been through different WaitWhatArt workshops. I know what this process can give you.
So I'm making this simple.
Go through every module. Follow every step. Create your Big Beautiful Textured Flower painting. Take the full 30 days.

If you don't love what you made – or if you don't love the experience of making it – email me at [email protected] and I'll refund every cent within 24 hours.
No forms. No explanations. No awkwardness.
I can make that promise confidently because I've seen what happens when someone follows this process.
And I want you to experience it for yourself – completely risk-free.
These Bonuses Are Included In Your Order
The workshop alone will give you everything you need to create your Big Beautiful Textured Flowers. But I've also included these to make every part of the experience – from the very first decision to the moment it goes on your wall – as smooth and enjoyable as possible.
Bonus #01
The Flower Template & Inspiration Pack
Before you ever touch a canvas, this pack gives you somewhere to start. Inside, you'll find a full library of flower designs and reference images – each one ready to trace straight onto your canvas.
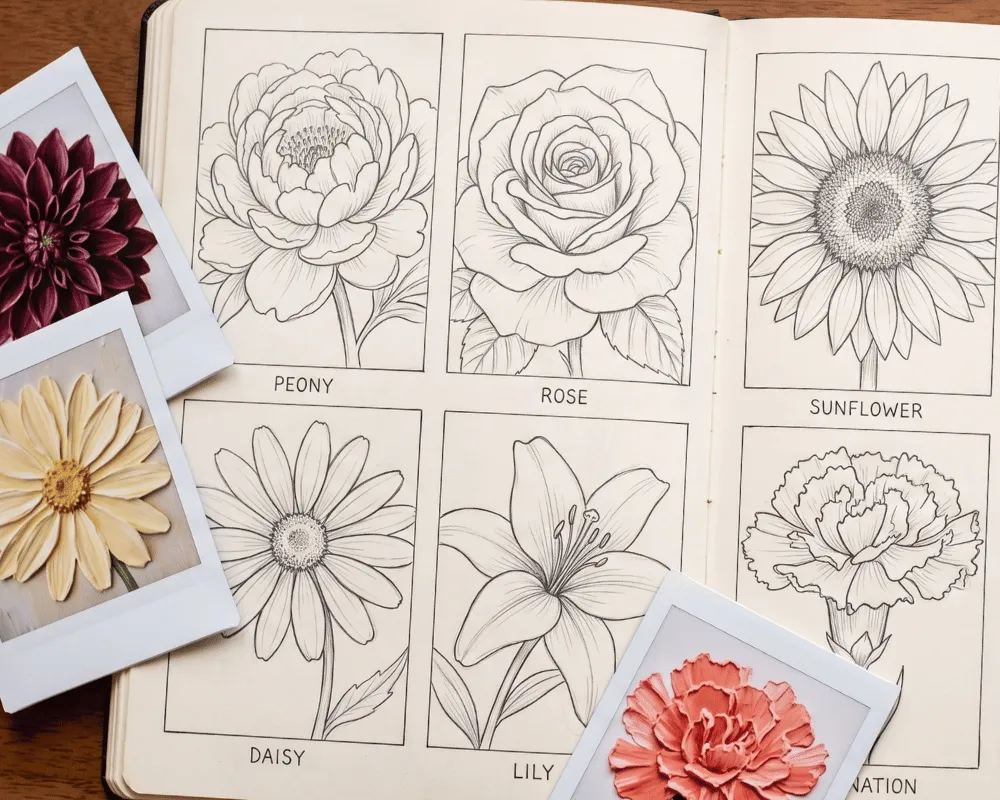
Browse a library of 15 flower templates, each with its own shape, mood, and character – so you can find the one that feels like it belongs on your wall
Each design comes with its finished painting shown right alongside the transfer grid, so you know exactly what you're building toward before you make a single mark
The difficulty ranges from simple and forgiving to more advanced and detailed – so there's always a next challenge waiting once you're ready for it
These templates are only half the story – change the colour palette and the exact same design can look completely different, so you'll never feel stuck making the same painting twice
You won't be staring at a blank page trying to decide what to make. You'll already know exactly what you're excited to create.
Bonus #02
Small Textured Flowers and Leaves
Once you've built your main flowers, this bonus shows you how to fill in the rest of the composition – smaller blooms, buds, and extra greenery that round out the whole piece.
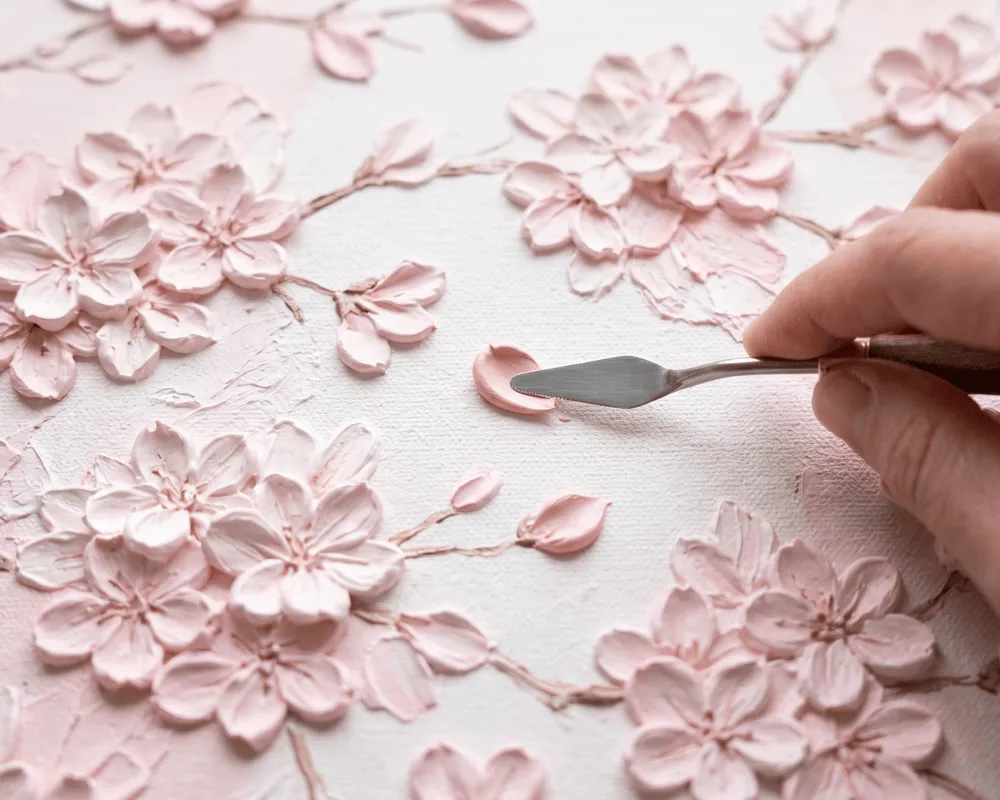
Learn a simplified petal technique for small accent flowers and buds – faster than the main flower method, and perfect for filling in empty space
Discover how to shape realistic textured leaves that frame your main flower without pulling focus from it
Find out how combining small flowers, leaves, and your centerpiece flower creates a composition that feels layered and complete, not sparse
Learn how to scatter smaller elements across a canvas so the whole piece feels balanced instead of empty or crowded
Because sometimes it's the small things that make the biggest difference.
Bonus #03
The Unexpected Extra Decorations
The texture and colour make your painting beautiful. This bonus shows you how to make it unforgettable.
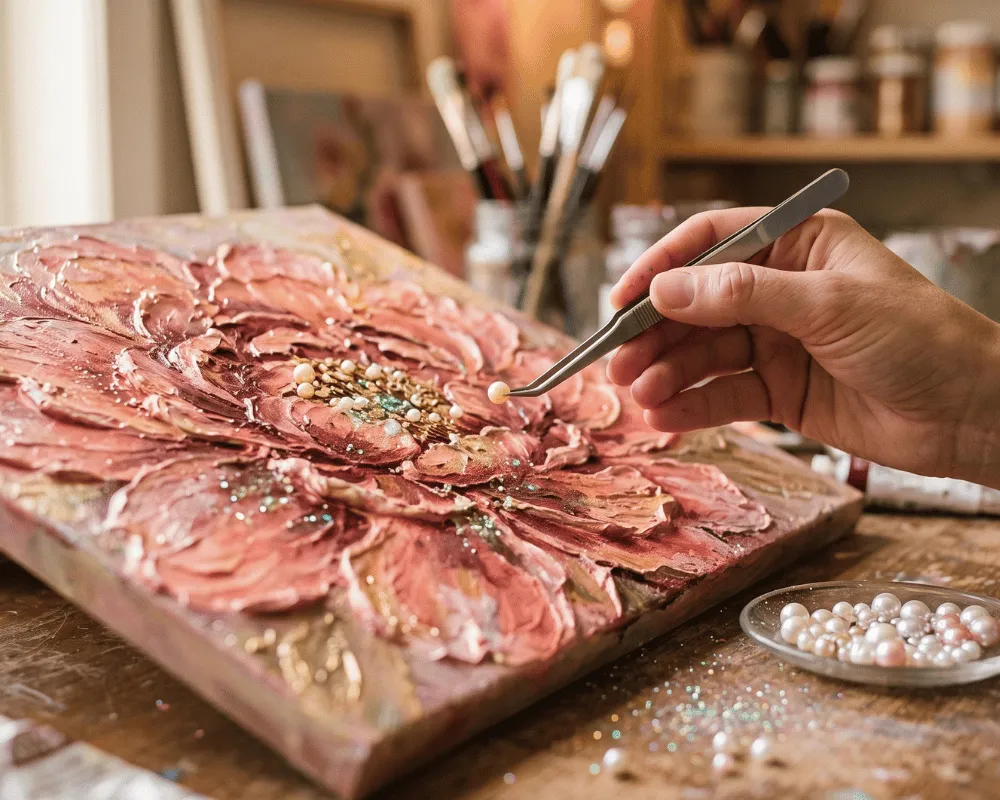
Discover which decorative elements – pearls, glitter, resin gems, and more – actually work on a textured painting without looking cheap or out of place
Learn exactly where and how to place them so they highlight your flower instead of distracting from it
Find out which adhesives hold permanently on texture paste so nothing falls off months later
See how a few carefully placed accents can make a handmade piece feel finished, intentional, and gallery-worthy
For those who want a little something extra – because why not?
Bonus #04
The Ultimate Texture Paste Guide
Everything you need to know about texture paste before you start – so you can create with confidence and avoid the most common beginner mistakes.

Understand the difference between Gel and Paste – what each one does, when to use which, and how they affect the final look of your painting.
Learn why texture paste cracks and what to do about it – understand the cause so you can prevent it, and know exactly how to fix it if it happens.
Get the full materials PDF – a curated list of recommended products, so you know exactly what to buy before you start – no matter where you are in the world.
The right material knowledge is what separates a frustrating experience from a truly enjoyable one.
Bonus #05
The Wait What Art Community
Creating is more enjoyable when you're not doing it alone. When you join the workshop, you get access to a private community of fellow students – a friendly, active space where real people share their work, ask questions, and celebrate every finished painting together.

Get personal answers from Michael whenever you're stuck on a technique, unsure about a material, or need guidance on your next step.
Share your work in progress and finished paintings with a supportive group of people who understand exactly what you're creating – and genuinely want to celebrate it with you.
Find inspiration and creative momentum by seeing what fellow students are making, experimenting with, and discovering along the way.
Know that whatever comes up during your creative process, you're never more than a post away from someone who has been exactly where you are
Because the best creative moments are even better when shared.
Join hundreds of others creating alongside you.
Here's Everything You Get When You Join Now
By joining the Big Beautiful Textured Flowers Workshop, you'll get instant access to the complete step-by-step workshop – and everything else I've included to make your experience as enjoyable and complete as possible:
The Big Beautiful Textured Flowers Workshop (
$129$47)Bonus 01 — The Flower Template & Inspiration Pack (
$15FREE)Bonus 02 — Small Textured Flowers and Leaves (
$15FREE)Bonus 03 — The Unexpected Extra Decorations (
$19FREE)Bonus 04 — Ultimate Texture Paste Guide (
$12FREE)Bonus 05 — The Wait What Art Community (
$19FREE)
That’s $209 of total value – yours for just $47 when you join now.
Yes - I Want the Workshop and Bonuses
– Total Value: $209 –
Currently Only $47
One-time purchase. Lifetime access.
*If the next page shows a different price, the $47 offer has closed.
30-day money-back guarantee
⏳ FAST-ACTION BONUS (Time-Limited)
When the timer hits zero, this bonus disappears. The Textured Flower Garden Walkthrough is a separate piece of work, and I only include it during the opening period of each new workshop cycle.
If the timer is still running when you're reading this, it can be yours.
Special Bonus
The Textured Flower Garden Walkthrough
Once you've learned to shape a single flower, there's a natural next step: filling an entire canvas with them, like a whole garden captured in one frame.
This walkthrough teaches you exactly that – how to take the bold, forgiving techniques you already know and repeat them into a full, layered field of flowers.
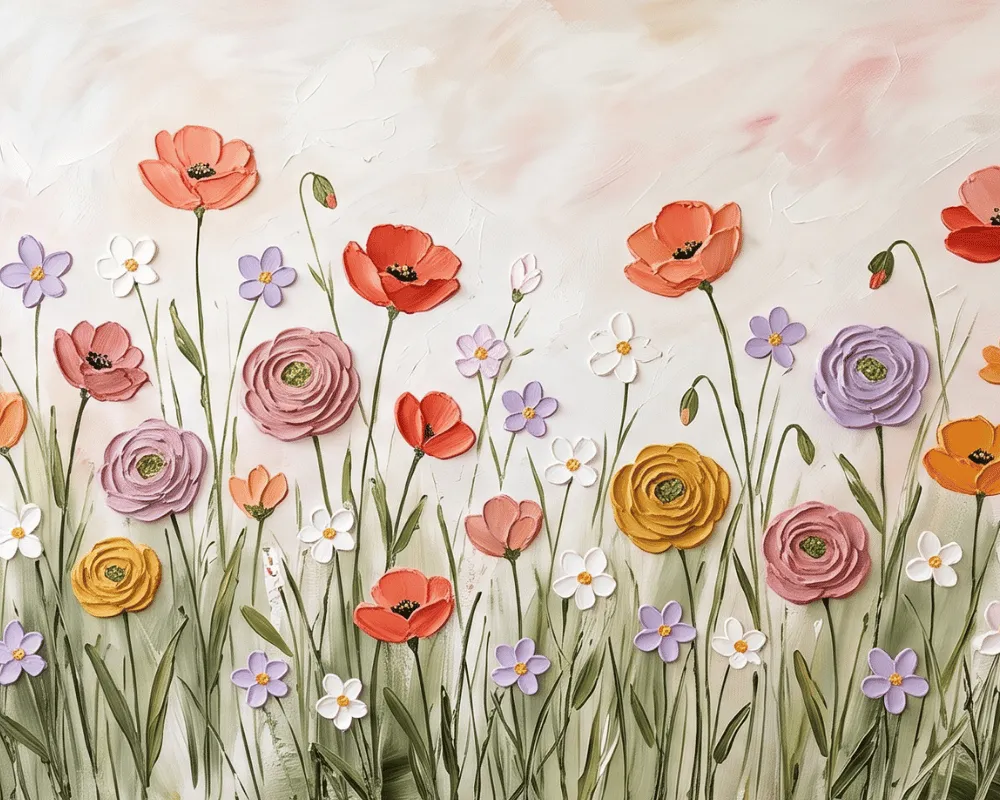
Discover how to fill an entire canvas with a full field of flowers – using the same techniques you already know, just repeated and varied
Learn how to arrange bold, forgiving blooms like poppies and ranunculus so the whole canvas feels alive and balanced, not cluttered
Get a set of inspiration images showing different moods and flower combinations, so you're never starting from a blank canvas wondering what to paint next
Walk away with a whole new way to compose flowers together, ready whenever you want to try a fuller, more layered piece
Filling a whole canvas with flowers has a way of turning a single technique you've already mastered into an entire scene – as if the blooms simply grew there together, rather than being placed one by one.
In this bonus lesson, you'll take everything you've learned across the workshop and expand it beyond a single flower – into a full, layered field that's entirely your own.
This is not just an add-on – it's the moment your painting stops being one flower on a canvas and starts becoming a whole world of them.
Join Before The Timer Runs Out And Get:
By joining now, you'll get instant access to the complete step-by-step workshop – and everything else I've included to make your experience as enjoyable and complete as possible:
The Big Beautiful Textured Flowers Workshop (
$129$47)Bonus 01 — The Flower Template & Inspiration Pack (
$15FREE)Bonus 02 — Small Textured Flowers and Leaves (
$15FREE)Bonus 03 — The Unexpected Extra Decorations (
$19FREE)Bonus 04 — Ultimate Texture Paste Guide (
$12FREE)Bonus 05 — The Wait What Art Community (
$19FREE)Special Bonus — The Flower Garden Walkthrough (
$29FREE)
That’s $238 of total value – yours for just $47 when you join now.
Yes - I Want the Workshop With The Special Bonus
– Total Value: $238 –
Currently Only $47
One-time purchase. Lifetime access.
*If the next page shows a different price, the $47 offer has closed.
30-day money-back guarantee
FAQ
I’ve never painted before – is this workshop still for me?
Absolutely! This workshop was designed for complete beginners. Each step is clearly explained, and you’ll see exactly how to move from a blank canvas to a beautiful finished piece – even if you’ve never held a palette knife in your hand before.
What materials will I need?
You’ll only need a few simple, affordable materials – like a canvas, acrylic paints, and texture paste. You’ll get a printable checklist inside the first module so you can easily gather everything before you start.
Do I need special art tools or brands?
Not at all. Any basic acrylic supplies will work. I’ll show you the exact types of tools I use and how to adapt them with what you already have at home.
Will I have support if I get stuck or have questions?
Absolutely. When you join the workshop, you also get access to a private community where Michael and fellow students are there to help with any questions that come up along the way.
Whether you're unsure about a material, stuck on a particular step, or simply want to share your progress, there's a friendly, supportive space waiting for you. No question is too small.
You won't be doing this alone.
When does the workshop begin – and is it flexible?
You can start the workshop the moment you join. There’s no set schedule or waiting period – just jump in whenever you’re ready and move at your own comfortable pace.
How long does the workshop take to complete?
Most students complete their painting across 3 to 7 sessions – each one roughly 60 to 90 minutes.
The process has natural built-in pauses for drying time between layers, which means there's no rushing and no pressure to push through everything at once.
Many students tell Michael that these sessions quickly become the part of their day they look forward to most.
You can spread them across a week, take a day off in between, or work at whatever pace suits your life.
Your access never expires – so the workshop works around your schedule, not the other way around.
How is the workshop delivered?
Once you join, you’ll get redirected instantly to a private workshop area.
Inside, you’ll find step-by-step video lessons you can pause, rewind, or rewatch anytime – plus printable guides and templates to make the process even easier.
You also get all your purchase details and the access sent to your email.
How do I access the workshop after I purchase?
Once you sign up, you’ll receive instant access to the workshop area where you can create your own account.
You can log in anytime from any device and enjoy lifetime access to every lesson.
What happens after I finish the workshop?
You’ll still have full lifetime access, so you can revisit any lesson or create new versions of your painting later. Many students go on to experiment with new colors or larger canvases using the same simple techniques.
I don’t have much time right now – is that a deal breaker?
Not at all. You can start whenever it fits your schedule, take breaks as needed, and come back to the lessons anytime you want a creative recharge.
What if I’m not naturally creative or artistic?
Neither was Michael when he started – and he'll be the first to tell you that.
Creativity in this workshop isn't something you need to bring with you. It's something that develops naturally as you follow each step.
By the time you're shaping your first leaf and watching flat paste become something dimensional and beautiful, the question of whether you're creative stops feeling relevant.
What if I make mistakes while creating?
That’s completely normal – and often the best part. The techniques you’ll learn are forgiving and easy to adjust. Small imperfections often turn into the most beautiful details.
I’ve tried art classes before and got discouraged. How is this different?
Most art classes put you in a room with an instructor moving at their own pace – and if you fall behind, you fall behind. That's exactly the experience this workshop was designed to avoid.
Every lesson is a video you control completely. Pause it, rewind it, rewatch it as many times as you need. Nobody is waiting for you. Nobody is watching you.
You move at whatever pace feels comfortable – and if a particular step needs another attempt, you simply try again.
Michael built this workshop specifically around the moments where people usually get stuck – the wrong materials, the cracking paste, the colors that turn muddy – and shows you how to navigate each one before it becomes a problem.
Students who came in expecting to feel discouraged are consistently the ones who surprise themselves most.
What if I change my mind?
No worries - you’re covered by a 30-day money-back guarantee. If you decide the workshop isn’t for you, simply email me at [email protected] within 30 days and I’ll fully refund your purchase, no questions asked.
Is it safe to buy online?
Yes. All payments are securely processed through a trusted platform. As soon as your purchase is complete, you’ll receive an automatic receipt and confirmation email with your login details and instant workshop access.
Join Now And Get Access To All This
The Big Beautiful Textured Flowers Workshop (
$129$47)Bonus 01 — The Flower Template & Inspiration Pack (
$15FREE)Bonus 02 — Small Textured Flowers and Leaves (
$15FREE)Bonus 03 — The Unexpected Extra Decorations (
$19FREE)Bonus 04 — Ultimate Texture Paste Guide (
$12FREE)Bonus 05 — The Wait What Art Community (
$19FREE)Special Bonus — The Flower Garden Walkthrough (
$29FREE)
That’s $238 of total value – yours for just $47 when you join now.
Yes - I'm Ready To Start Creating Textured Art
– Total Value: $238 –
Currently Only $47
One-time purchase. Lifetime access.
*If the next page shows a different price, the $47 offer has closed.
30-day money-back guarantee
